Product details
Replacing the screen on an HP ProBook 430 G1 requires careful disassembly and installation. Here’s a step-by-step guide to help you understand the process:
1. Tools Required:
- Phillips screwdriver
- Plastic prying tool or spudger
- Tweezers (optional)
- A replacement screen (compatible with HP ProBook 430 G1)
- Anti-static wrist strap (recommended)
2. Steps for Screen Replacement:
Step 1: Power Down and Prepare
- Shut down the laptop completely.
- Unplug the charger and remove the battery to avoid electrical damage.
Step 2: Remove the Screen Bezel
- Use a plastic prying tool to carefully remove the screen bezel.
- Start from one corner and work your way around gently to avoid breaking the plastic clips.
Step 3: Unscrew the Screen Panel
- Locate the small screws securing the screen to the metal brackets.
- Unscrew them carefully and tilt the screen slightly forward.
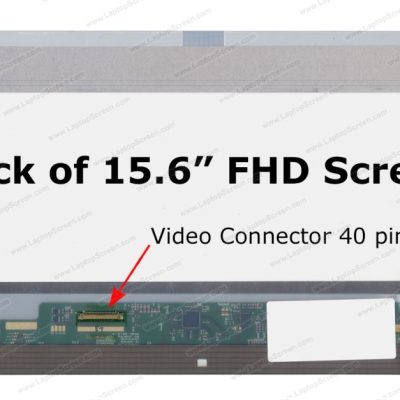
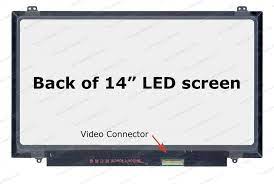
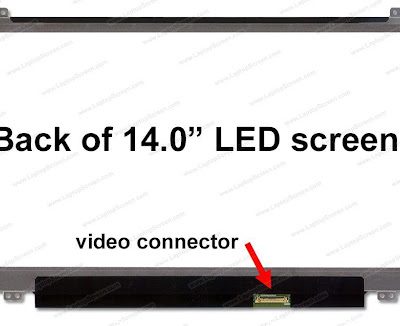
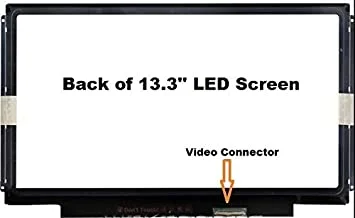
Step 4: Disconnect the Screen Cable
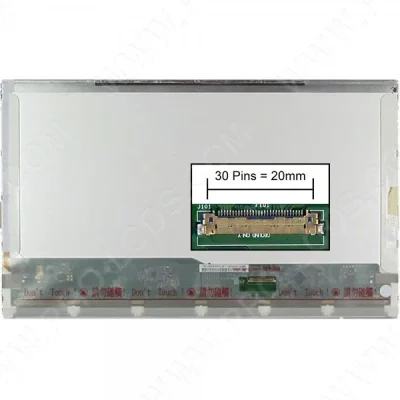
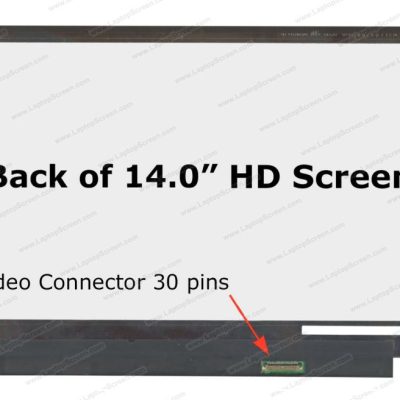
- At the back of the screen, there is a video cable (LVDS cable).
- Carefully peel back any adhesive and disconnect the cable from the screen.
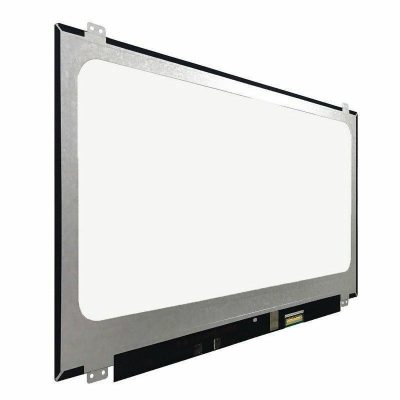
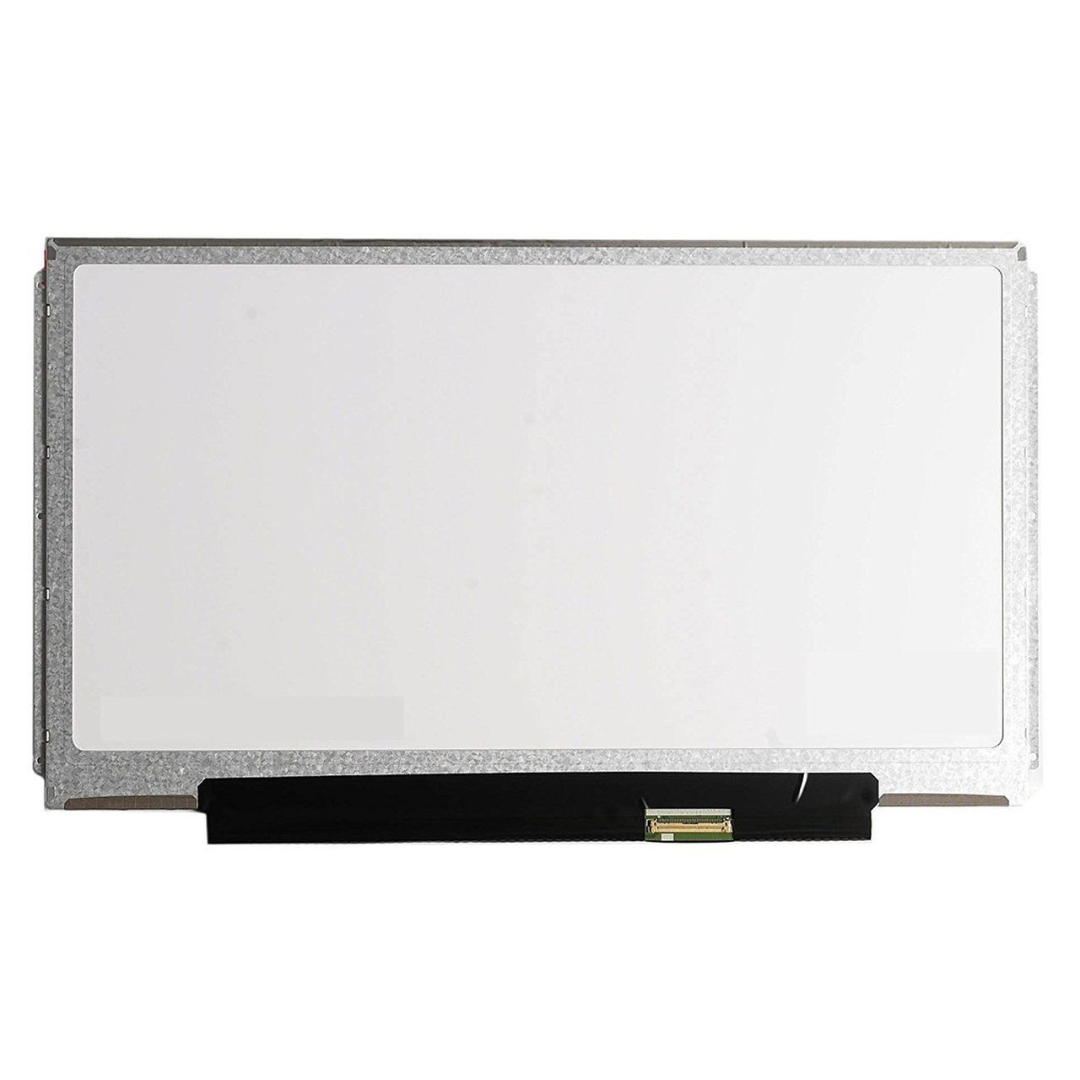
Step 5: Install the New Screen
- Take the new replacement screen and connect the video cable.
- Secure the screen with the screws on the side brackets.
Step 6: Reattach the Bezel
- Snap the screen bezel back into place by gently pressing along the edges.
Step 7: Test the Screen
- Reinsert the battery, power on the laptop, and check if the display is working correctly.
Tips:
- Handle the screen carefully to avoid cracks or scratches.
- If the screen doesn’t turn on, check the cable connection.
- Buy a compatible screen (usually 13.3″ LED HD, 30-pin connector).